Cookbook Chronicles: The Science & Art of Recipe Development
Recipes are the heart of a cookbook: a collection of yum that works for the home baker. Plus: a tip I've learned along the way and other recent writing.
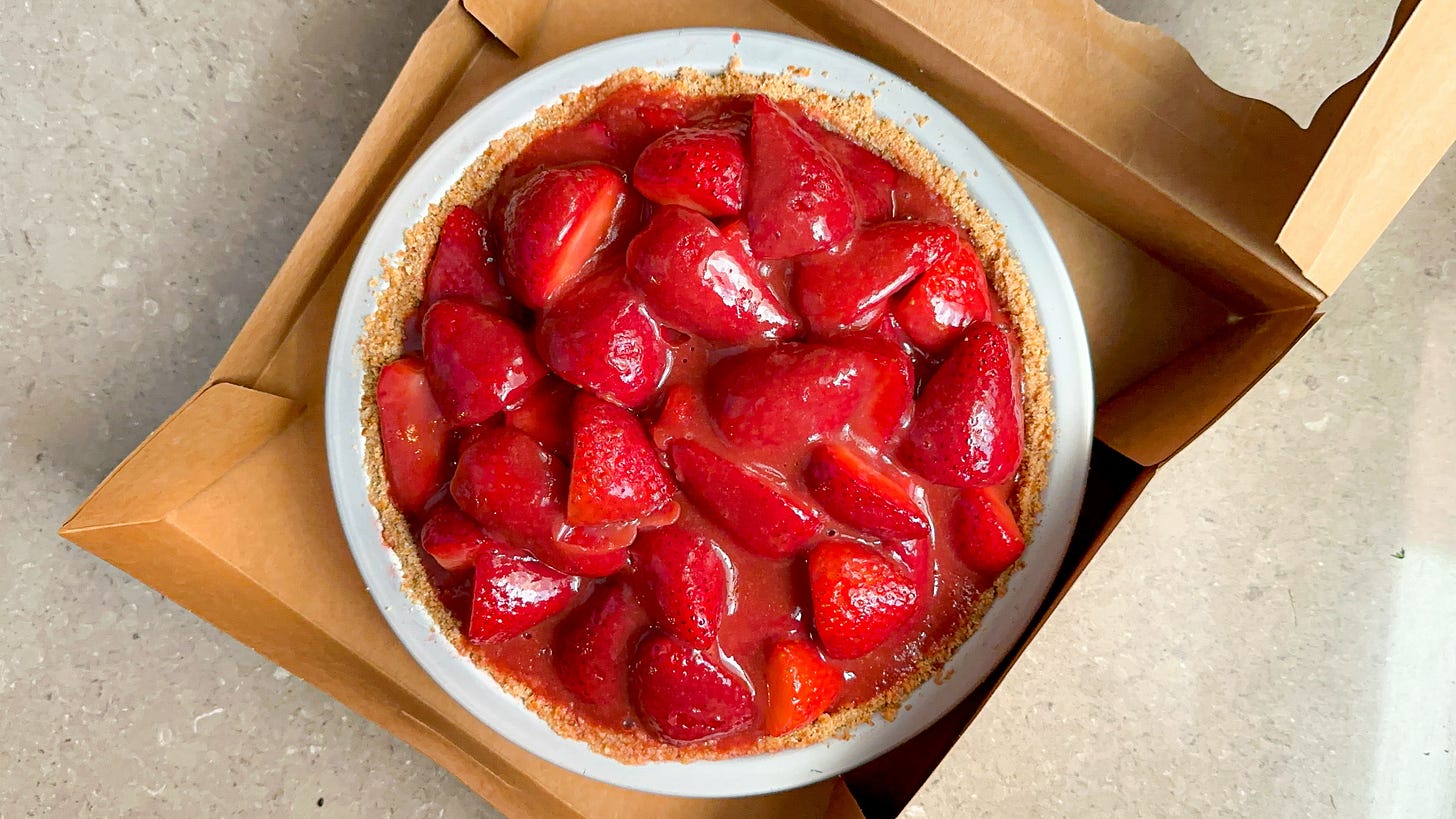
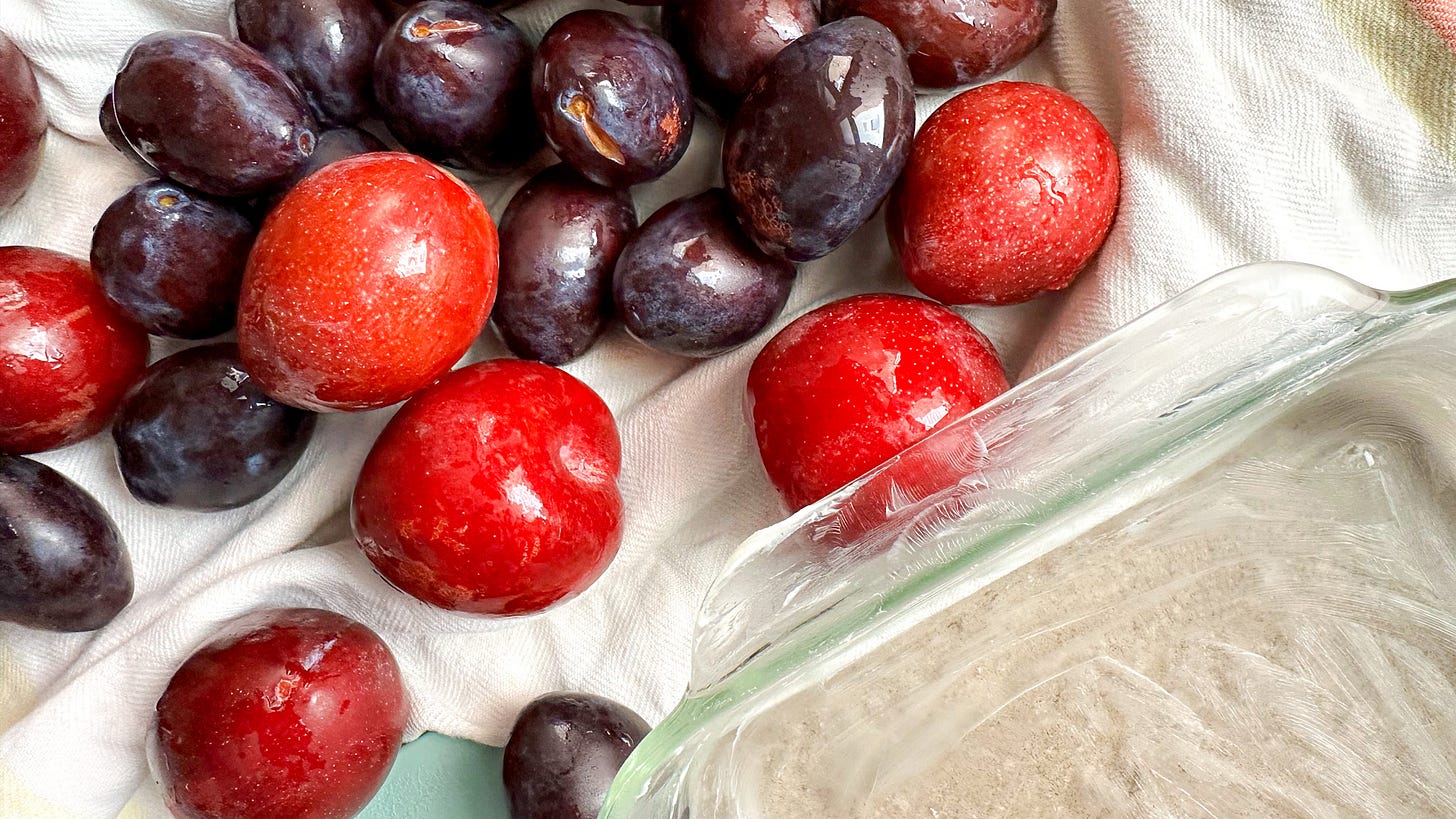
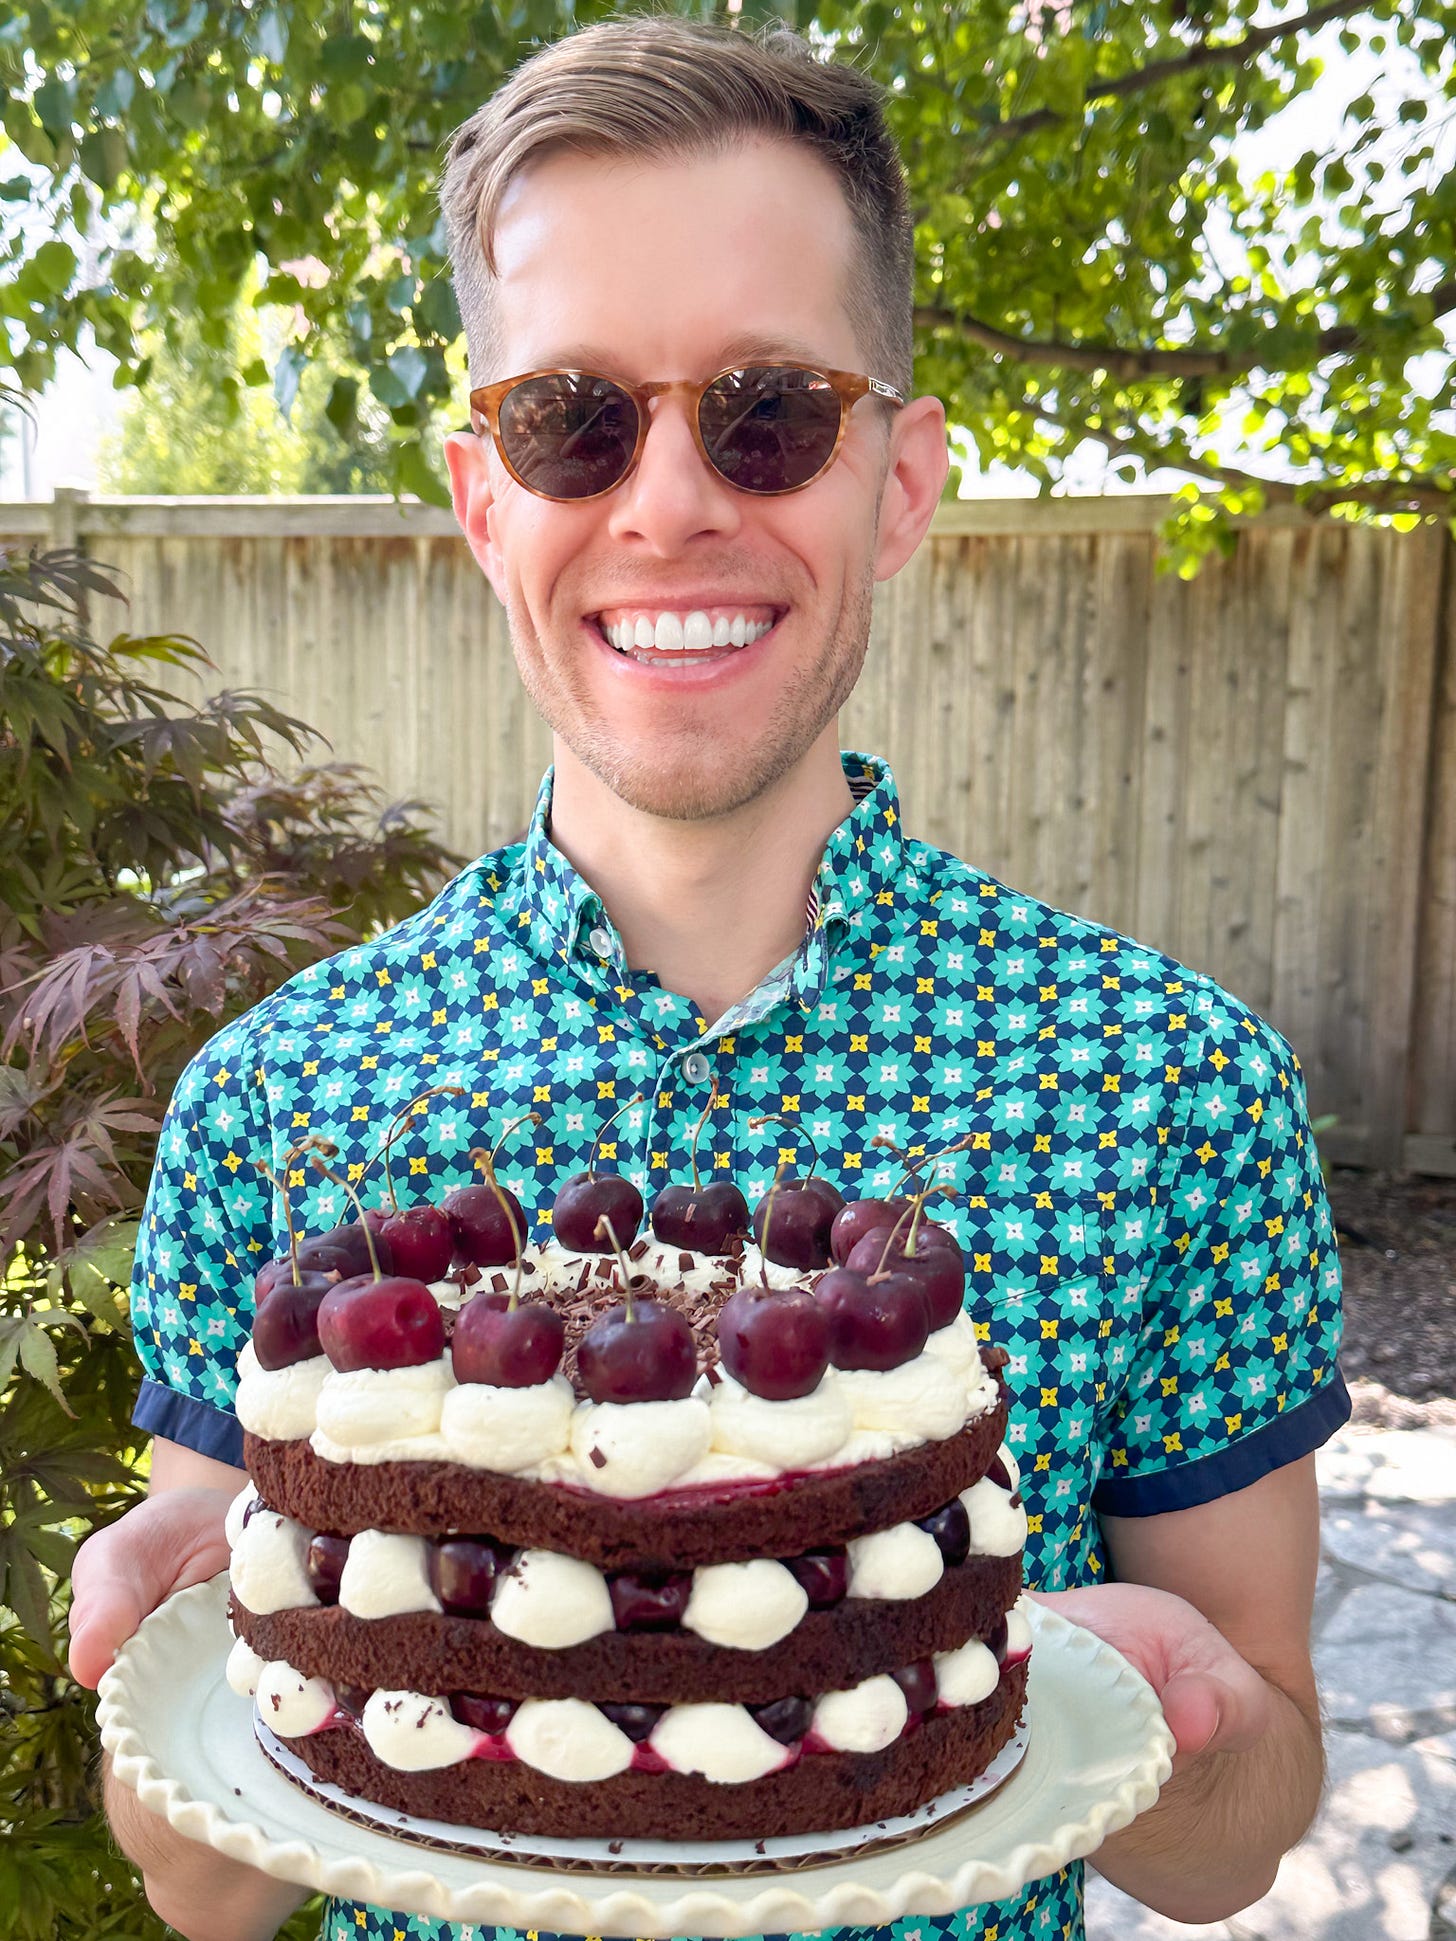
Hello from deep down the recipe development hole! Since we're at Peak Midwestern Summer, I'm focused on recipes for my book that demand the lovely fresh produce from our farms. I see cherry, rhubarb, and strawberry recipes in the rear view mirror and peach, plum, and sweet corn recipes right ahead. Apples and quince are on the horizon.
As I mentioned in a previous post in this series, I started writing down my recipes a long time ago. Being cast on the Great American Baking Show put my recipe writing into high gear. We didn't have much time to develop recipes for the signature and showstopper challenges, so it was an absolute crash course in how to slap together an original recipe in almost no time at all. These weren't simple recipes for chocolate chip cookies or a plain loaf of white bread. Some of my showstopper recipes clocked in at more than 25 pages and included a dozen different components.The recipes had to be detailed. I needed to know every single ingredient, step, baking time, plan for decoration, and tool that I might need. Some recipes required architectural drawings or design sketches. I practically wrote a cookbook worth of recipes just preparing for the show. Although exhausting, I relished the challenge. Writing a simple one-bowl cake feels like a walk in the orchard compared to those monstrosities.
Since then, I've learned a lot about developing recipes from other great writers. The folks at the Everything Cookbooks Podcast (Andrea Nguyen , Kate Lahey, Kristin Donnelly, Molly Stevens and their guests), food-writing coach extraordinaire, Dianne Jacob, and the countless cookbooks and blogs showed me how to write better recipes.
Developing baking recipes can be a bit more challenging than some "regular cooking" recipes. Whereas cooking might be a bit more intuitive and forgiving—you can adjust ingredient quantities or seasoning levels as you cook, for example—developing baking recipes requires a bit more experience. You can't be sure of the final flavor or texture until the bake is out of the oven and cool. However, once you feel confident on the basics and some of the science on how baking works, can riff, adapt, and troubleshoot. You learn the basic ratio for a bread dough, a shortbread cookie, a whipped-cream frosting, a pie filling, or a simple cake. You know what you can tweak and what you can't. You know the clues to see if a dough is too wet or too dry. Unfortunately, you typically can't course-correct if a baking recipe has gone wrong. You put it into the oven and hope.
My Recipe Development Framework
Step 1: Vision
Before I even start working on a recipe, I need to have a vision and a purpose for each recipe. I ask myself some questions: What's in my fridge? What am I craving? What inspires me? What flavors do I want to play with? What's in season? What to I want it to taste like? What should it look like? Who is the audience for this recipe? What story does it tell? Why should people want to make it? Am I adding something new and special to this world that's already filled with too many recipes? Or simply: This bake is ultra-scrumptious and the world must know about it. For the cookbook, I take that one step further: What is this recipe doing in the book? How does it fit with the other recipes? Does it need to be in the book?
Step 2: Hypothesis Recipe
Then I sit down and type up the a recipe that I think will work. It's my hypothesis. I've cooked enough to be able to come up with a cake, bread, cookie, or pastry idea on paper before testing it. I'll build off of an existing recipe, tweak a tried-and-true formula, or triangulate a recipe form various other sources. Sometimes the hypothesis recipe is a fully-written recipe with exact amounts. Other times I may include ranges for ingredients or baking times. Quite often an ingredient, like the amount of fruit for a pie filling, will be noted with a "???" or "___" to be filled in as I work. Then I print the recipe off, grab a pen, and head to the kitchen.
Steps 3 and 4: Home Testing and Editing
Testing is a multi-step process and the longest non-writing part of working on the book. First I test the Hypothesis Recipe. During the first test, I fill in the question marks or blanks. (I've figured out some fun ways to do that, one of which I'll share later!) As I start baking, I might make some small tweaks depending on how wet a dough feels or thick a batter looks. I'll taste a frosting and realize that it needs a bit more vanilla. Yes, sometimes I even taste a cookie dough or cake batter. (Don't do that, you could get sick.) Then I do the dishes.
If the recipe works well, I write down all of my notes, any changes, and type them up. Then I test it again, exactly as written. Again, I wash dishes. If that works perfectly, I'll test it a third time to make sure I did everything right. For the third time, I do dishes. (And by this point, I probably clean the entire kitchen.) No, I don't test a recipe three times in one day. Usually just one per day, maybe two.
If the recipe doesn't work on the first or second tries, I'll make small tweaks, ideally no more than two major changes per test unless the initial one is an abject failure. If one part of the recipe gives me trouble: such as a frosting, filling, or pastry shell. I might do a couple of sub-tests to hone that specific component. If a recipe is a major flop after a few tries, I just stop and set it aside for a while. So far, the simplest recipes cause the most problems. With something simple, there's no where to hide.
Once I'm happy with the thrice-tested recipe, I proofread it, format it, and I might write a headnote (that charming little blurb that comes before the recipe).
Steps 5 and 6: Outside Testing and More Edits
(For any of my testers out there: I'm just getting started on this part! The recipes will come soon!)
Next, I send the recipe out to one of my many amazing, lovely, talented expert testers. Then they send me bake photos of the finished bake and and fill in a worksheet that I sent along with the recipe. (My favorite comment these days: "No notes!") If I need to make any major changes, then I rework the recipe and re-test it myself before sending it back to another expert tester. If the changes are small (e.g. minor flavor changes or edits to the instructions), then I make the changes and move on.
If I feel good about the first round of testing: I send to it my novice testers. They give it the thumbs up (or down), they send photos and a completed testing worksheet, and then it's good to go. More often not, I need add a few important details that help newer bakers succeed. Sometimes this can be adding a note about the importance of a certain step—like chilling pastry dough—so that the baker doesn't cut corners.
Step 6: Set It Aside (for now)
Once I'm happy with a recipe, and outside tests go well, I set the recipe aside. I have to resist my natural inclination to keep tweaking the recipe to achieve the impossible goal of perfection.
Some things that can be tough:
Quantities: Frostings, fillings, crust recipes, and things like that require an exact amount. You want the right amount filling for a pie or frosting to cover a cake--no more, no less. I can't tell you how many times I used too much or too little filling or failed to make enough frosting for a cake. But, I don't want the reader to have have leftovers of components, either.
Flavor: It's the key to every recipe. But I could tinker with flavors until I'm blue in the face. I have to figure out when to stop messing around with it.
Ingredient leftovers: I hate nothing more than using part of a can of condensed milk or half of a whole egg, so I have to tweak recipes to have quantities to make sense for people. It's usually all about the eggs. Bakers, you understand. I surveyed some of my novice baker friends, and they do not want to whisk up an egg and measure it by grams. (And honestly, I don't want to do that either.)
Bake times, temperatures, and done-ness: For cookies, muffins, or things that can be done individually. I'll take one out at different time intervals so I can get a sense for when it's done (but not overcooked) and learn the appropriate indicators of done-ness. For bakes that can wait, I'll divide them up, for example I will bake a few cookies at 350 then a couple more at 325 and 375 to see what difference it makes. It's not as simple for things like whole cakes. You can test it at intervals, but you have to make the executive decision about when it's done. Bread is easier, they just have to hit the appropriate temperature and then keep cooking for the right color on the crust.
I know that several of my readers have written many, many more recipes than I have and are actual experts on this subject. Please chime in if you have other tips, tricks, methods, or wisdom on the art and science of recipe testing.
A fun recipe development tip:
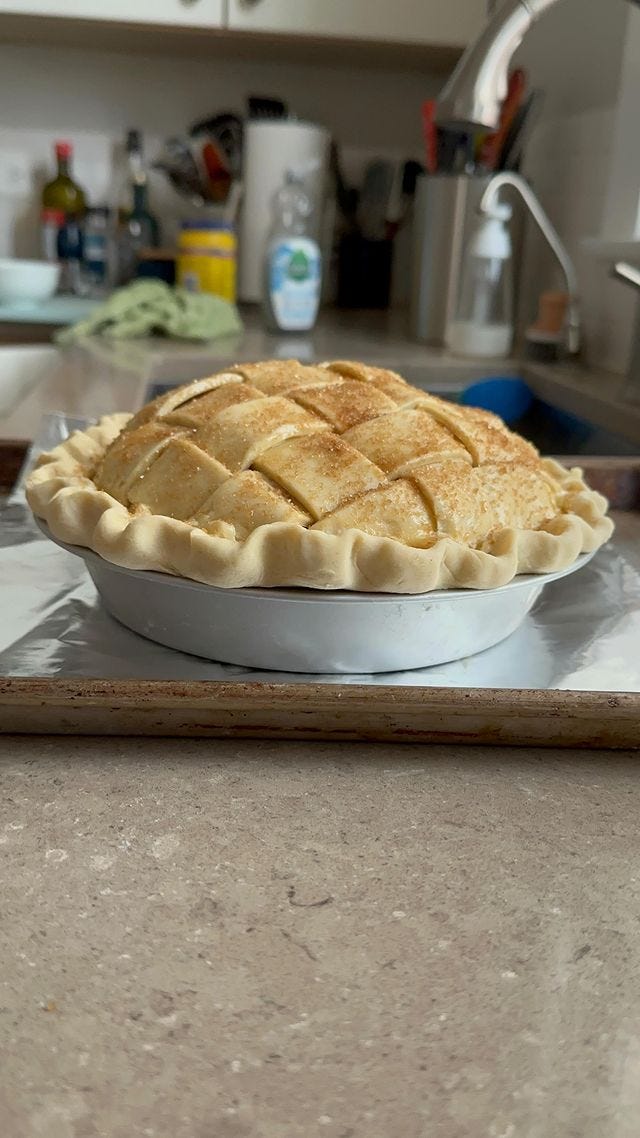
Want to know how much fruit to use for a pie filling, crisp/crumble/cobbler filling?
Fill the empty baking vessel with the raw fruit. Pile the apples or berries into the pie pan or baking dish. Once it's appropriately full, that's a good enough estimate. Some caveats: Some fruit: especially apples, pears, quince, and cranberries will shrink a lot. Pile those fruit high, because once cooked they release a lot of air from their cells. Peaches, plums, apricots, and blueberries shrink a bit, too, but not nearly as much.
Here’s a video example of how to estimate the number of apples you need for a pie:
Recent Writing
Hungry for some baking tips this week? I got you covered with five new pieces in Food & Wine:
The Best Booze for Spiking Your Fruit Desserts: From classic pairings like cherries and kirsch to more surprising duos, these fruit-and-alcohol combinations are made for each other.
10 Sweet and Tangy Plum Desserts, From Galettes to Upside-Down Cakes: Make the most of the summer fruit with these gorgeous desserts. You don’t even need to peel them!
The Best Type of Crust for Any Kind of Pie: Match your pie to the right crust, whether you’re making a classic fruit pie or a custard tart.
How to Level Up Homemade Ice Cream With Chunks, Swirls, and More: Use these pro tips to make scoop shop-worthy ice cream at home.
The Unexpected Herb That Will Transform Your Desserts: Think beyond basil and rosemary to punch up your sweets.
Happy Baking,
Martin


I’m just getting into recipe testing and this was so helpful! How do you find your expert and novice testers?
Oh man, Im a home cook and have always wondered how this process works. This was super interesting! I never considered outside testing but it makes complete sense. Question: what do you do with all the extra cake you have lying around? Do you gift it to your friends and neighbours? They must be so happy 😂